On a crisp autumn morning in our family's New England farmhouse, as golden leaves swirled outside the kitchen windows, my grandma pulled out her weathered recipe tin. "Perfect bread-baking weather," she announced with that knowing smile that always preceded kitchen magic. The familiar scent of woodsmoke from our fireplace mingled with the promise of fresh bread as she selected a dog-eared recipe card that had survived five decades of holiday gatherings.
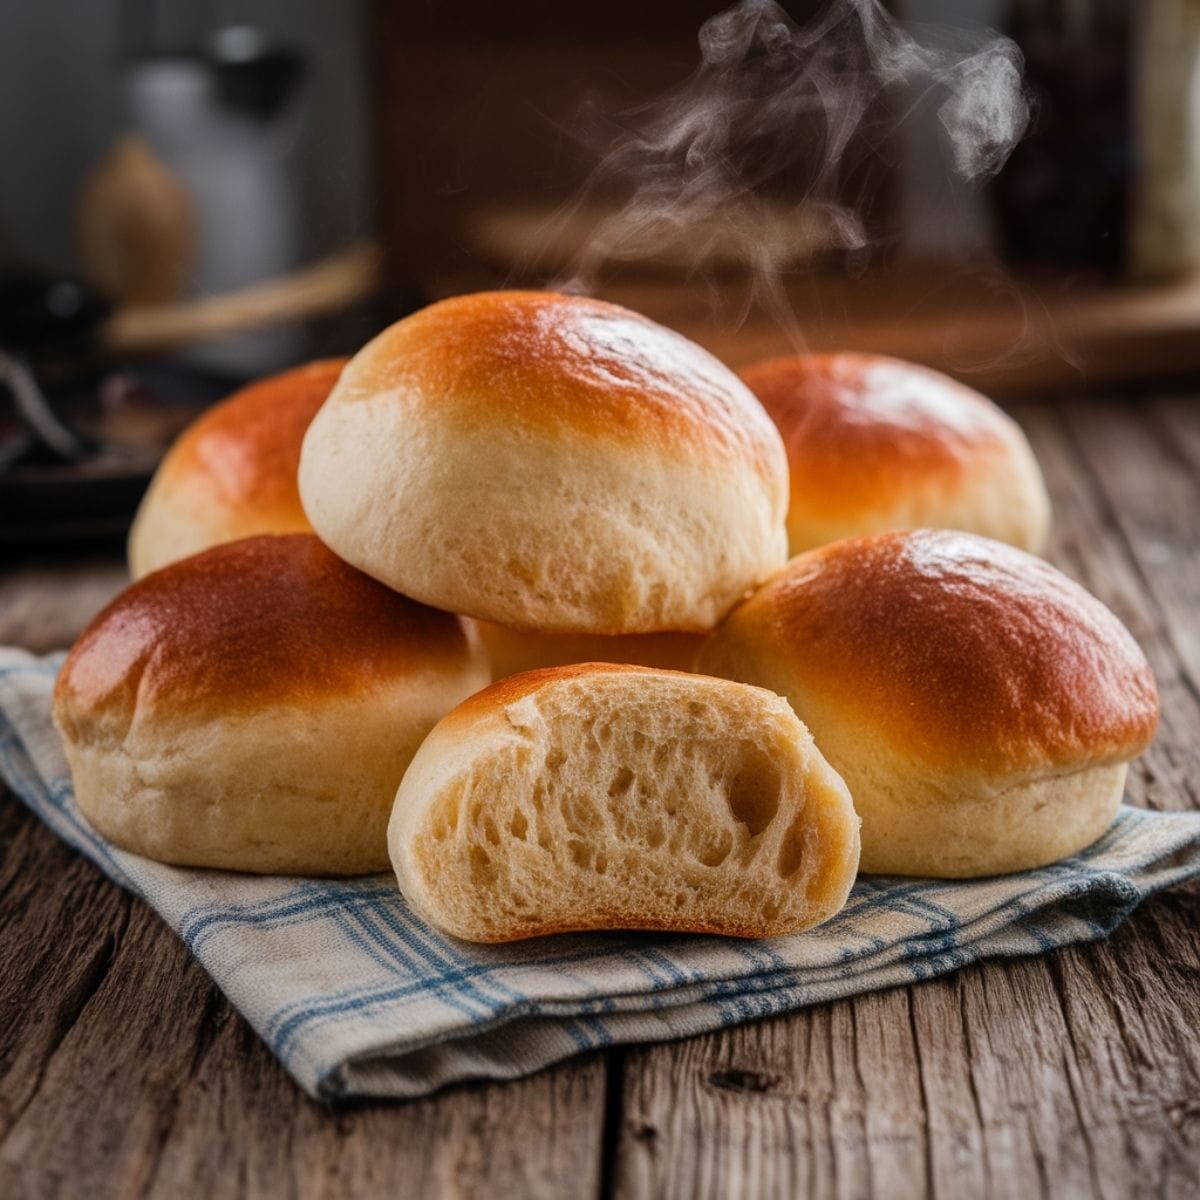
"These sourdough discard rolls kept our family going through harsh winters," she explained, tracing the faded handwriting with flour-dusted fingers. The recipe had come from her own grandmother, who had brought it from the old country, adapting it over time to make use of precious sourdough starter when resources were scarce. That afternoon, as we worked side by side in the kitchen, three generations of hands shaping the same dough, I realized I wasn't just learning to make rolls – I was inheriting a piece of our family's resilience. These pillowy-soft, golden-topped treasures aren't just delicious; they're a connection to those who kneaded and baked before us, making something wonderful from what others might waste.
Ingredients
Here's everything you'll need to make these heavenly sourdough discard rolls. I recommend gathering all ingredients before starting—my grandma always says proper preparation prevents poor performance!
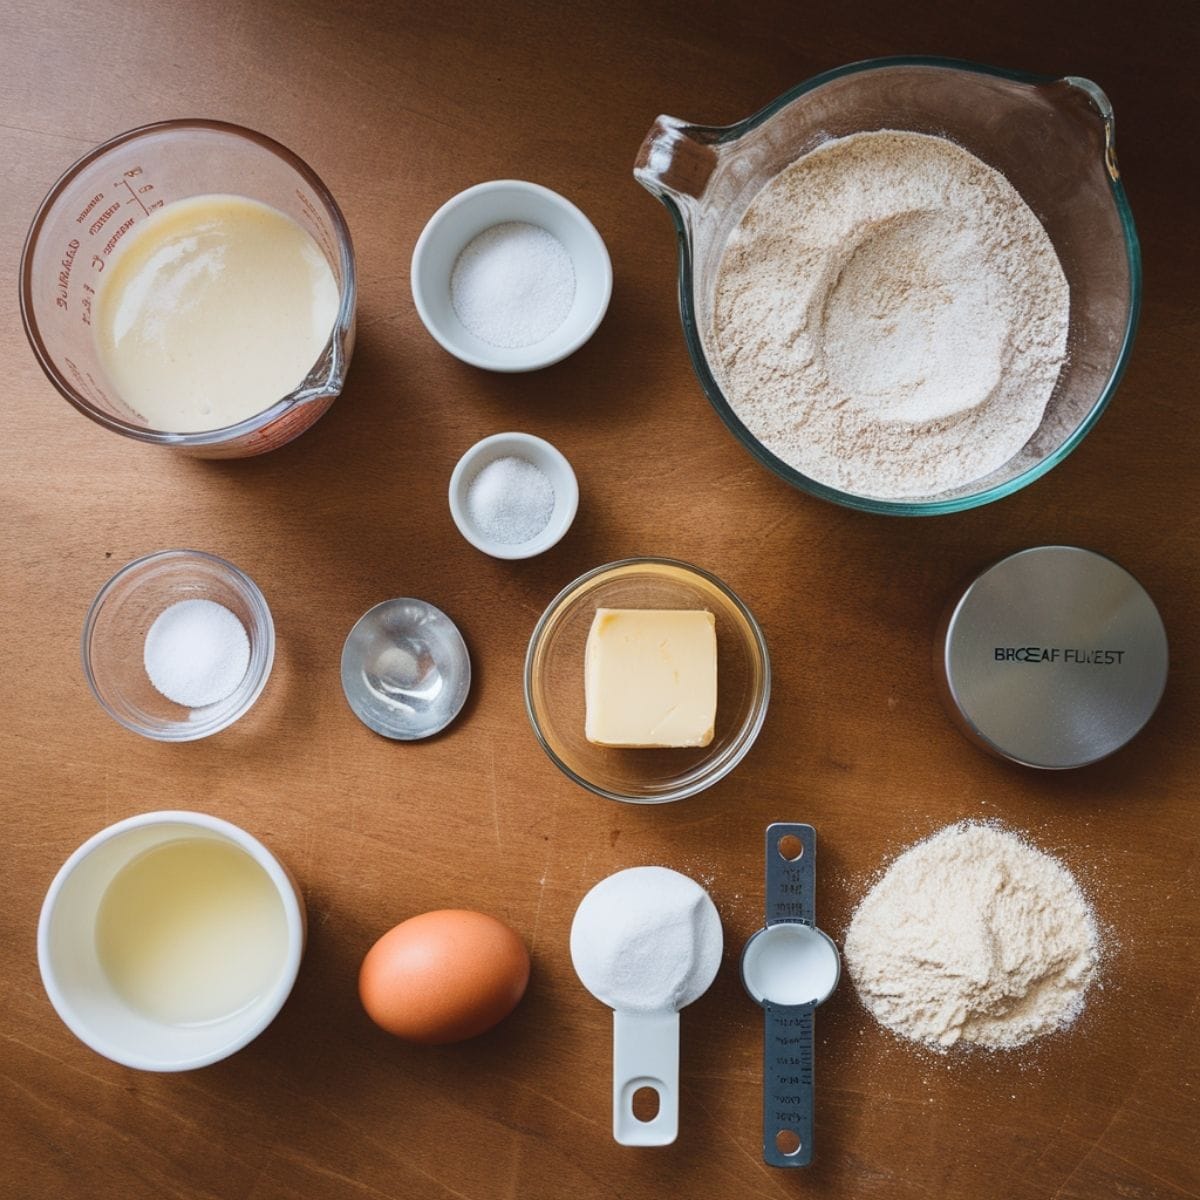
- 240 grams warm water (98-100°F), about 1 cup
- 15 grams instant yeast, about 1½ tablespoons
- 20 grams granulated sugar, about 2 tablespoons
- 150 grams sourdough discard, scant ⅔ cup
- 1 large egg, about 50 grams
- 35 grams unsalted butter, melted, about 2½ tablespoons
- 12 grams salt, about 2 teaspoons
- 540 grams bread flour, about 4 cups
For the egg wash:
- 1 egg
- Splash of water
This recipe is brilliantly balanced—the sourdough discard adds depth and character, while the instant yeast ensures a quick rise. The small amount of sugar provides just enough food for the yeast without making the rolls overly sweet. My grandma taught me that good bread is all about proportion and patience, even when it's a quick recipe!
Instructions
Follow these simple steps to create perfectly soft, flavorful sourdough discard rolls. I've included all my grandma's little tricks that make all the difference!
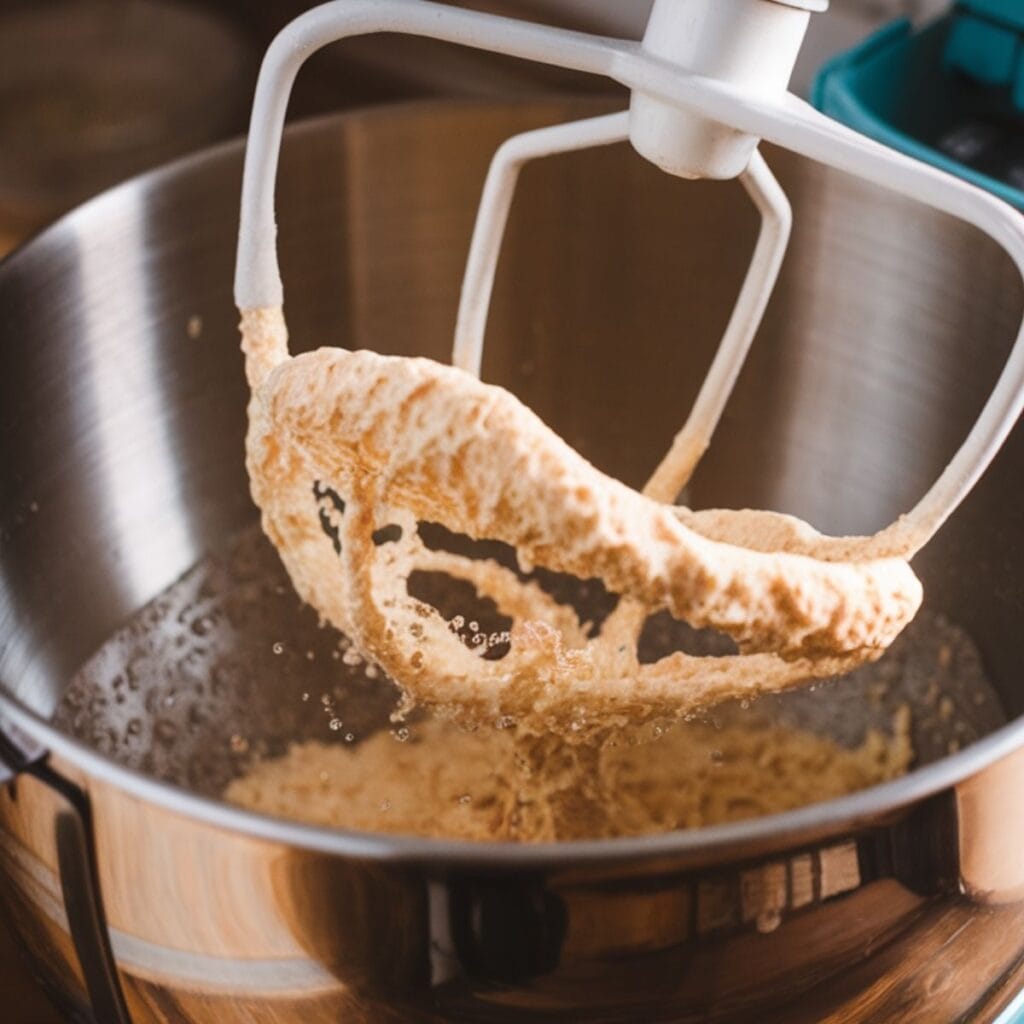
- In the bowl of a stand mixer, combine the warm water (98-100°F) and sourdough discard. Mix quickly to incorporate. (This is especially important if your discard is cold from the refrigerator—the warm water helps bring everything to the right temperature for yeast activation.)
- Add the sugar and instant yeast to the mixture. Watch for the yeast to activate—you'll notice a distinctive yeasty aroma and the yeast will begin to clump together. This is how you know the magic is starting!
- Add the egg, melted butter, and salt. Mix again until well combined.
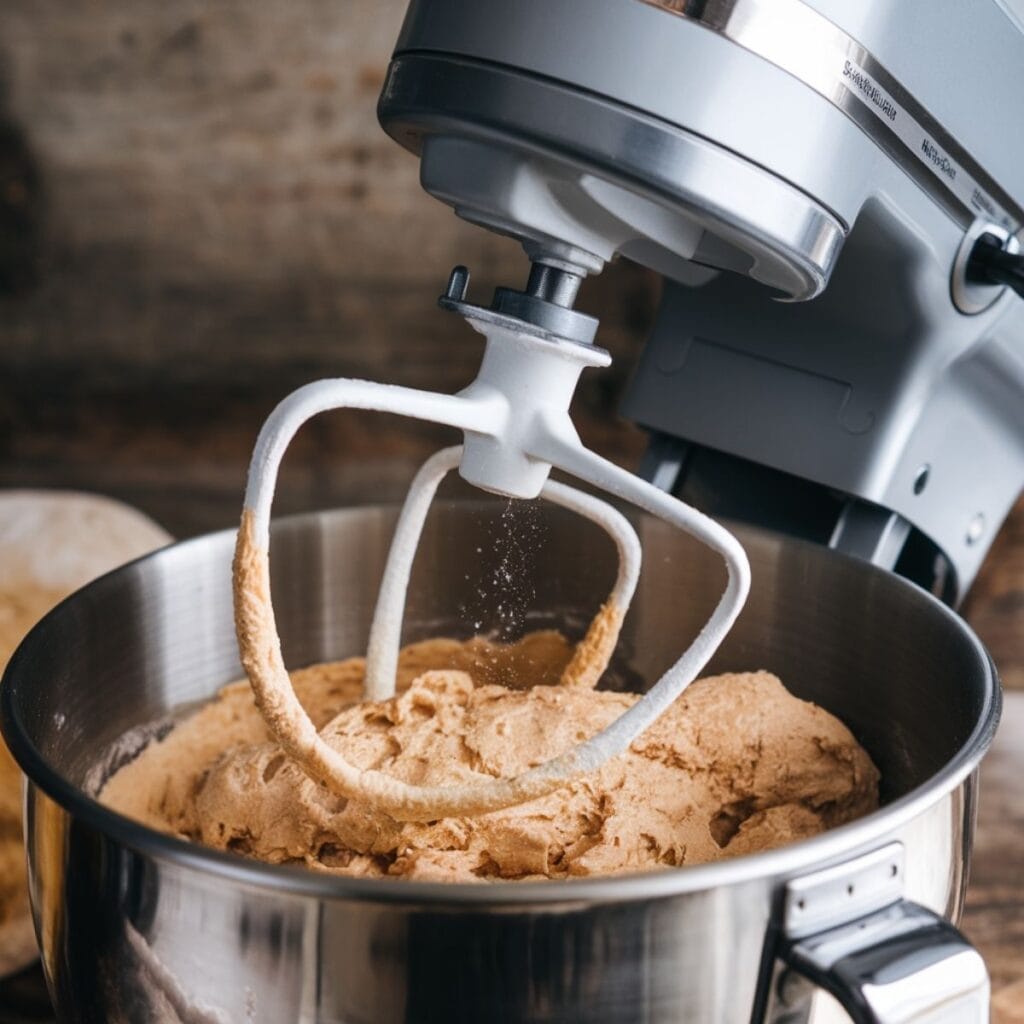
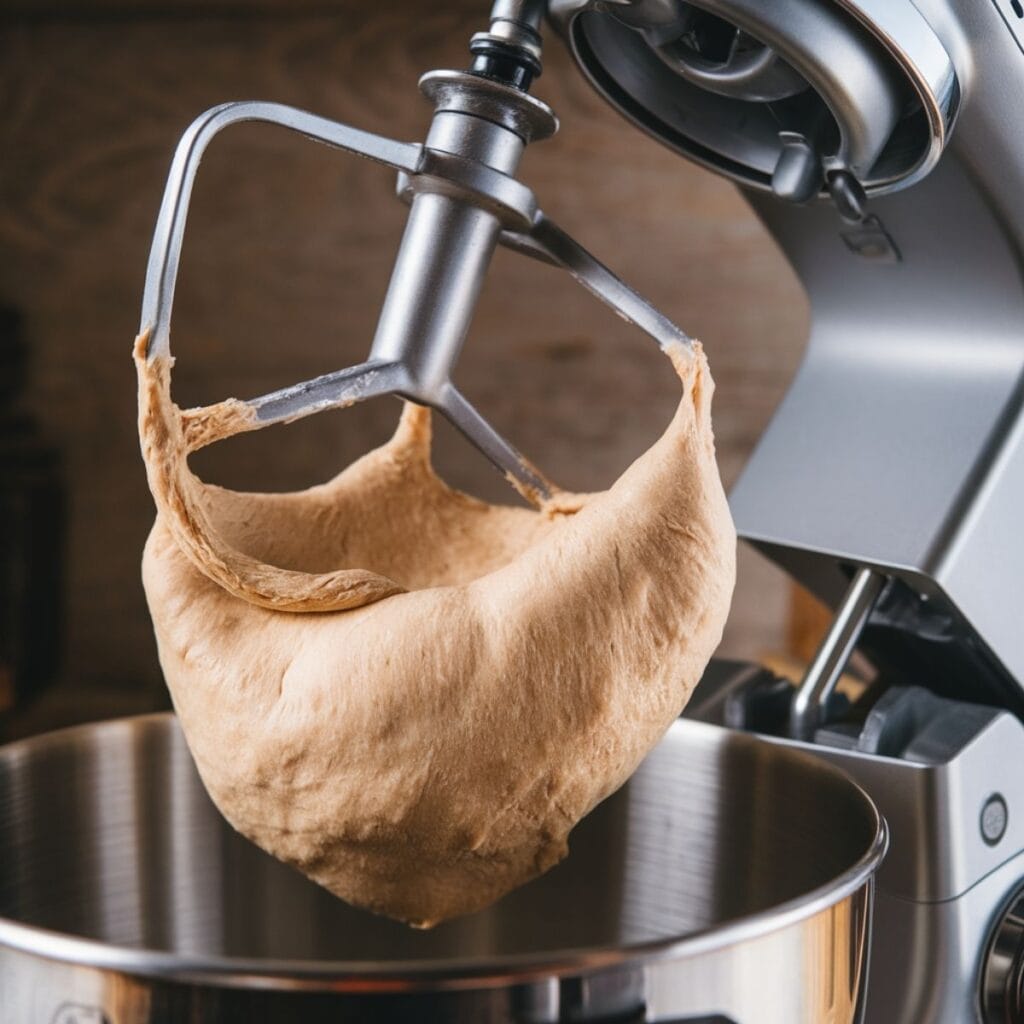
- With the dough hook attachment running, gradually add the bread flour. Reserve about a cup to add at the end, which prevents over-flouring the dough. The perfect dough should feel tacky but not excessively sticky. Knead for 5-7 minutes until the dough forms a smooth, elastic ball.
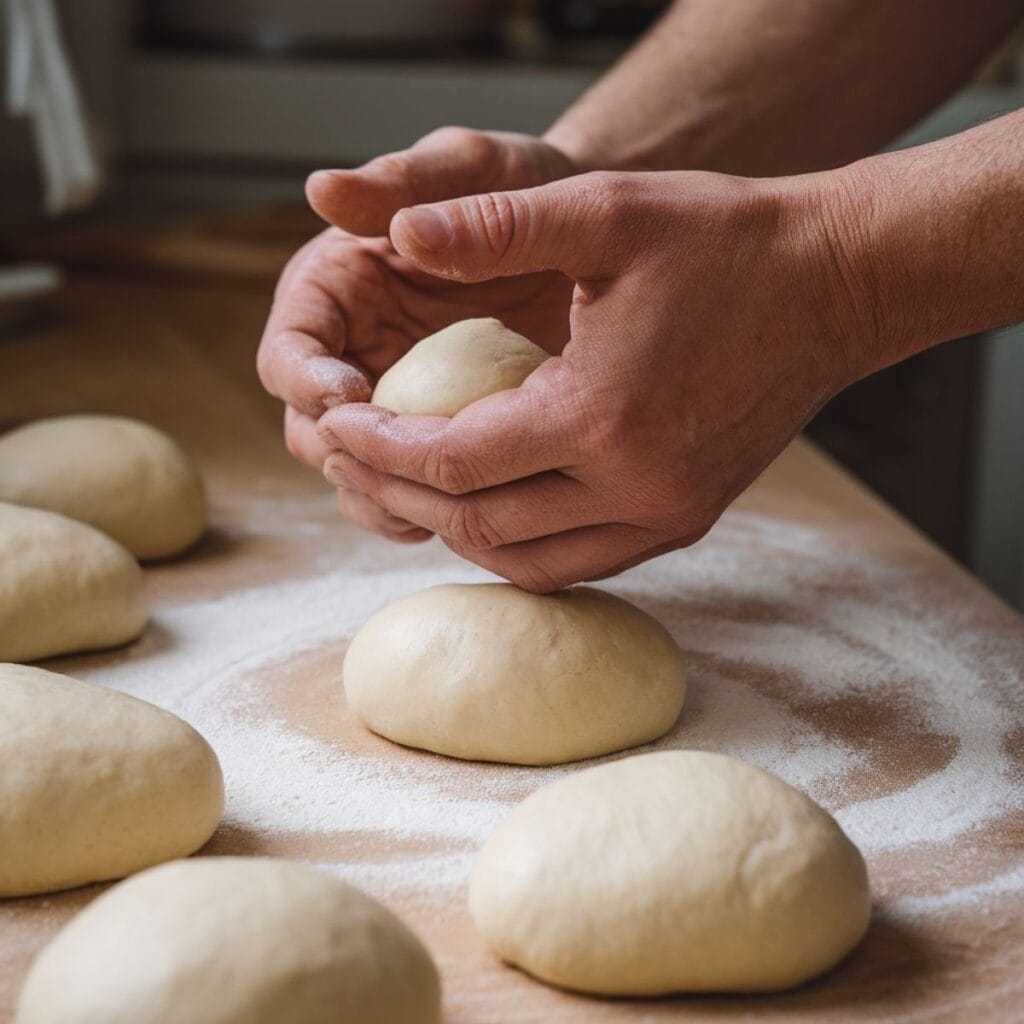
- Turn the dough out onto a lightly floured countertop. Cut it into twelve equal pieces (about 85-90 grams each). Shape each piece into a ball by pulling and pinching the sides upward, then roll on the counter while cupping your hand to create tension and seal the bottom.
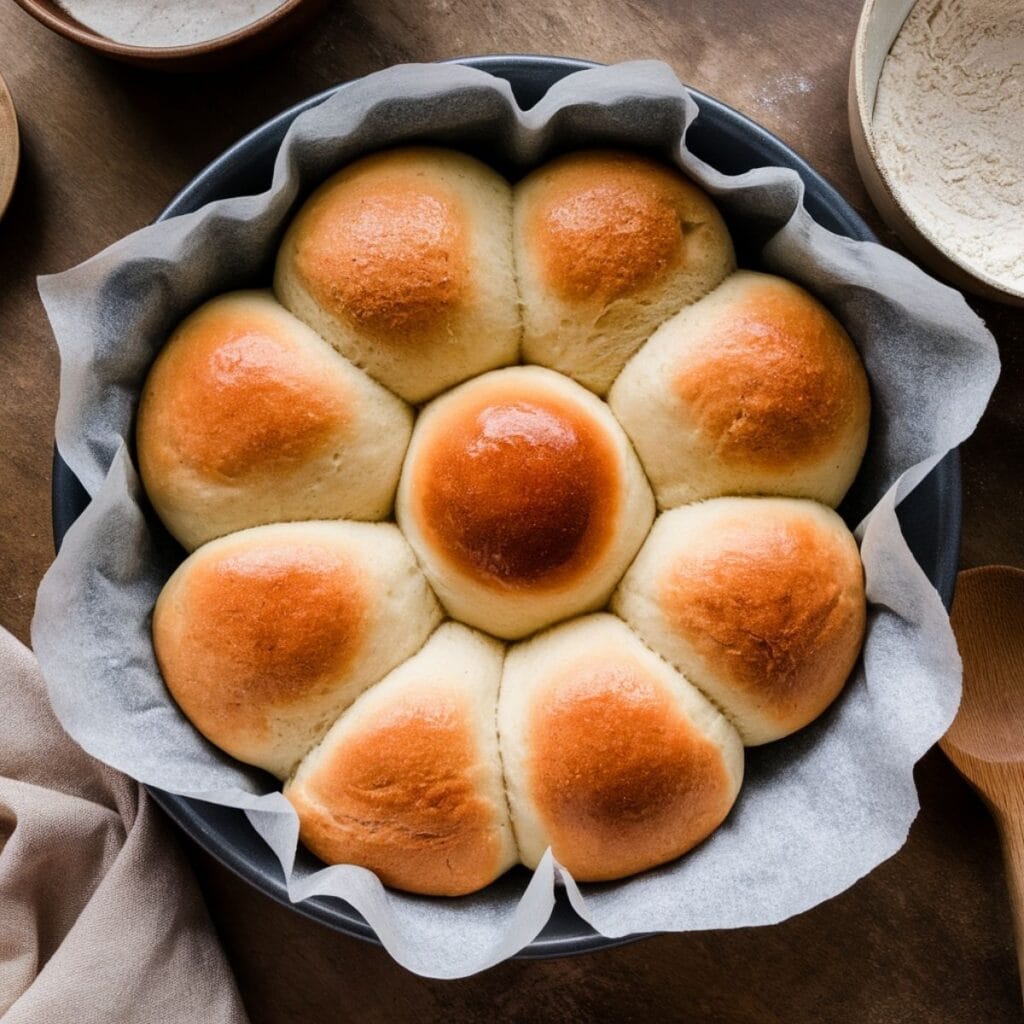
- Place the shaped rolls in a 12-inch round (or 9×13-inch rectangular) baking pan lined with parchment paper if your pan isn't non-stick. Cover with a clean kitchen towel and set in a warm place to rise for about 30 minutes.
- The rolls should nearly double in size and touch each other when properly risen. They'll feel light and fluffy to a gentle touch. Once risen, preheat your oven to 375°F. (Important: If you were proofing your rolls in the oven with just the light on, remove them BEFORE preheating!)
- While the oven preheats, prepare a simple egg wash by beating an egg with a splash of water. Gently brush this mixture over the tops of the rolls for that beautiful golden shine.
- Bake for approximately 20 minutes until the rolls are golden brown and reach an internal temperature of 190°F.
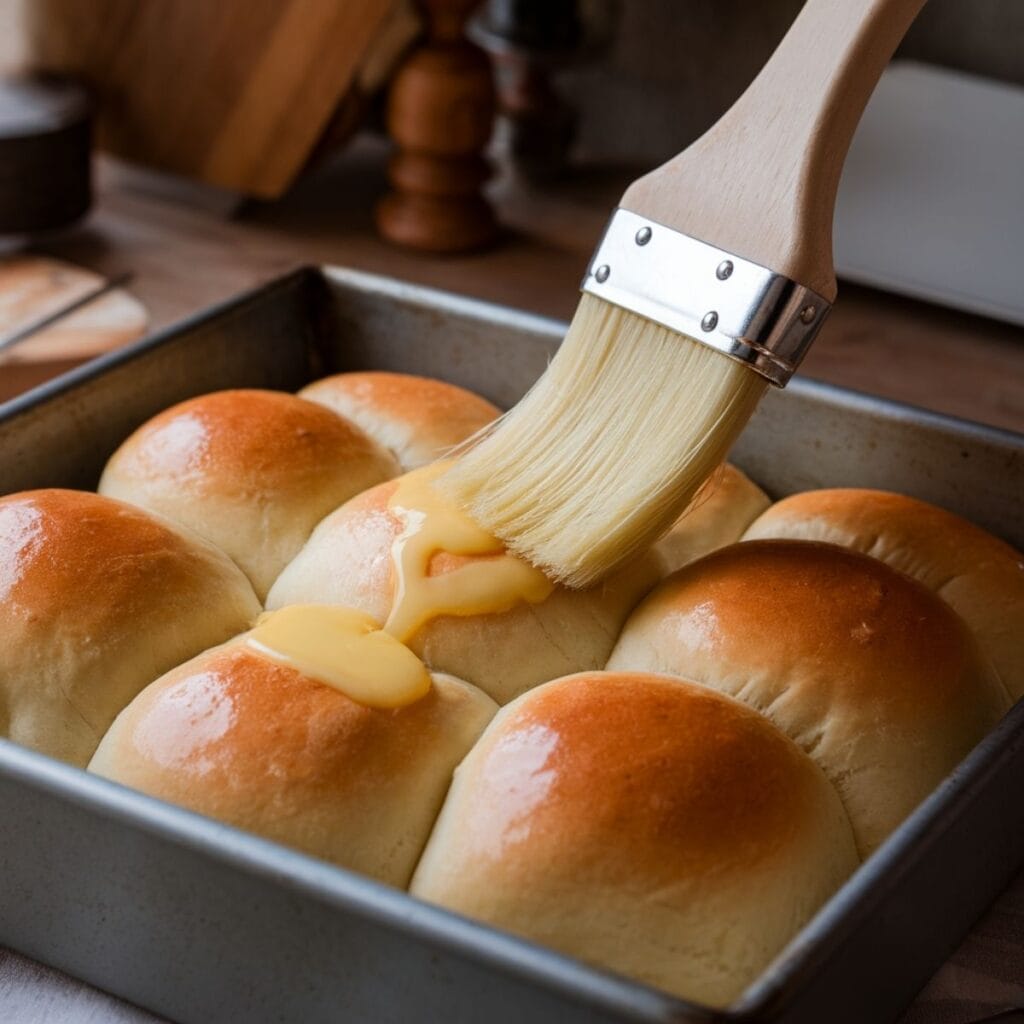
- For an extra touch of indulgence, brush the tops with melted butter right after baking. Allow the rolls to cool slightly before serving warm.
My grandma always says, "You eat with your eyes first," so don't skip that egg wash—it gives the rolls that magazine-worthy golden glow that makes everyone reach for them first!
Cooking Tips
The secret to truly exceptional sourdough discard rolls lies in the details. Here are some tricks my grandma has shared with me over the years:
Temperature matters tremendously! Keep an eye on your water temperature—too hot will kill the yeast, too cool will slow down the rise. Use a kitchen thermometer if you're unsure. A great trick is to test the water on your inner wrist—it should feel warm but not hot, similar to testing baby formula.
Don't rush the kneading process, even though these are quick rolls. Proper kneading develops the gluten that gives these rolls their perfect texture. The dough should pass the "windowpane test"—when you stretch a small piece, it should thin out enough to see light through without tearing.
If your kitchen is particularly cold, create a warm environment for rising by placing the covered dough near (not on) a heat source. My favorite trick is to turn the oven on for just 1 minute, then turn it off and place the dough inside with the door closed. The gentle residual warmth creates the perfect rising condition.
Personal Anecdotes
These sourdough discard rolls have saved more family dinners than I can count! One Thanksgiving, I completely forgot about making bread until two hours before guests arrived. Grandma calmly pulled out this recipe card, and we had warm, fresh rolls on the table by dinnertime. The best compliment came from my brother-in-law, who dislikes sourdough but devoured three rolls before asking for the recipe!
My grandma loves to tell stories of how during the 1970s energy crisis, she would make these rolls when fuel was too expensive to keep the oven running for hours. She'd bake a double batch and stretch them across several meals—warm from the oven for dinner, then split and toasted for breakfast sandwiches the next day.
Substitutions
Need to adapt this recipe for different dietary needs? Here are some tested alternatives:
Gluten-Free Version: Replace the bread flour with your favorite 1:1 gluten-free flour blend. Add 1 tablespoon of xanthan gum if your blend doesn't include it already. The texture will be slightly different, but still delicious. Be sure to use a gluten-free sourdough starter as well.
Dairy-Free Option: Substitute the butter with plant-based butter or olive oil. The rolls may have a slightly different flavor profile, but will still turn out wonderfully soft.
Egg-Free Alternative: Replace the egg in the dough with 3 tablespoons of unsweetened applesauce or 2 tablespoons of ground flaxseed mixed with 3 tablespoons of water (let it sit for 5 minutes before adding). For the egg wash, brush with melted butter or milk instead.
Lower-Sodium Option: You can reduce the salt to 1 teaspoon without significantly affecting the flavor, though I wouldn't recommend eliminating it entirely as salt is crucial for controlling yeast activity.
Variations
Want to experiment with different flavors? Here are some family-tested variations:
Herb and Garlic Rolls: Add 2 tablespoons of dried herbs (rosemary, thyme, and oregano work beautifully) and 2 minced garlic cloves to the dough before kneading. Brush with garlic butter instead of plain butter after baking.
Whole Wheat Blend: Replace up to half of the bread flour with whole wheat flour for a nuttier, more rustic roll. You may need to add an extra tablespoon or two of water, as whole wheat flour absorbs more moisture.
Honey Wheat: Replace the granulated sugar with 3 tablespoons of honey for a subtle sweetness that pairs wonderfully with the sourdough tang. This version makes exceptional breakfast rolls.
Cinnamon Sugar: After shaping the dough balls, roll them in a mixture of cinnamon and sugar before placing in the pan. Drizzle with a simple powdered sugar glaze after baking for a sweet treat.
Cheese-Stuffed: Flatten each dough portion, place a small cube of cheese (cheddar, Gruyère, or pepper jack are fantastic) in the center, then seal and shape into a ball with the cheese inside. The melted cheese center is a wonderful surprise!
Equipment
These sourdough discard rolls can be made with either a stand mixer or by hand. Here's what you'll need:
Stand Mixer Method:
- Stand mixer with dough hook attachment
- Measuring cups and spoons (though a kitchen scale provides more accuracy)
- 12-inch round or 9×13-inch baking pan
- Parchment paper (optional, but recommended)
- Kitchen thermometer (optional, but helpful for checking water temperature and final bread temperature)
- Pastry brush for egg wash
Hand-Mixed Method:
- Large mixing bowl
- Wooden spoon or dough whisk
- Clean countertop for kneading
- The same baking equipment as above
If you don't have a stand mixer, don't worry! My grandma made these by hand for decades before getting a mixer. The process is the same, but you'll need to knead the dough by hand for 7-8 minutes. It's a wonderful arm workout and surprisingly therapeutic!
Storage
These rolls are at their absolute best fresh from the oven, but they store remarkably well. Here's how to keep them fresh:
Same-Day Storage: Keep at room temperature in an airtight container or bag for up to 12 hours. A clean kitchen towel wrapped around them in a bread basket will keep them warm for about an hour at the dinner table.
Next-Day Storage: Store in an airtight container at room temperature for up to 2 days. For the freshest taste, reheat for about 5-7 minutes in a 350°F oven, or 10-15 seconds in the microwave (wrapped in a slightly damp paper towel to prevent drying out).
Freezer Storage: These rolls freeze beautifully! Once completely cooled, place in a freezer-safe bag, remove as much air as possible, and freeze for up to 3 months. Thaw at room temperature and reheat in a 350°F oven for 7-10 minutes to refresh.
Make-Ahead Option: You can also shape the rolls, cover them tightly with plastic wrap, and refrigerate for up to 24 hours before baking. Let them come to room temperature and complete their rise (about 1 hour) before baking as directed.
Top Tip
Grandma's absolute best advice for perfect sourdough discard rolls: "The tangier your discard, the more character your rolls will have!" If you prefer a more pronounced sourdough flavor, use discard that's been stored in your refrigerator for 5-7 days. For a milder flavor that might appeal more to sourdough skeptics or children, use fresher discard. This simple adjustment lets you customize the flavor profile to suit your family's taste preferences.
Another game-changing tip: weigh your ingredients if possible! A kitchen scale makes all the difference in consistent results, especially for bread flour, which can vary dramatically in volume depending on how you scoop it.
FAQ
Can I make sourdough discard rolls without yeast? Yes, but they won't be one-hour rolls. For sourdough discard rolls without commercial yeast, you'll need to increase the sourdough discard to 300g and allow for approximately 4-6 hours of rising time, depending on the temperature of your kitchen and the activity level of your starter. The flavor will be more pronounced, but the time investment is significantly greater.
Can I use a bread machine to make sourdough discard rolls? Absolutely! Place all ingredients in your bread machine in the order recommended by the manufacturer (typically liquids first, then dry ingredients, with yeast last). Use the dough cycle, then remove, shape into rolls, and complete the second rise and baking as directed in the recipe.
How can I make my sourdough discard rolls softer? For even softer rolls, add 2 tablespoons of powdered milk to the dough. This creates a more tender crumb. Also, brushing with butter immediately after baking not only adds flavor but also keeps the crust softer.
Can I make the dough ahead of time? Yes! After kneading, you can refrigerate the dough for up to 24 hours. The cool temperature slows yeast activity while allowing flavor development. When ready to bake, remove from refrigerator, shape into rolls, and allow to come to room temperature and rise before baking.
Conclusion
Making these sourdough discard rolls with my grandma has taught me that the best recipes are more than just ingredients and instructions—they're vehicles for connection, carriers of history, and creators of new memories. What began as a clever way to use up sourdough discard has become one of our family's most treasured recipes, spanning generations and bringing us together around the table time and again.
I hope these rolls bring as much joy to your family as they have to mine. There's something magical about pulling a tray of golden, fragrant rolls from the oven—a simple pleasure that never gets old, no matter how many times you experience it.
If you enjoyed these sourdough discard rolls, you might also love our Garlic Butter Steak Bites (they pair perfectly with these rolls!) or our German Chocolate Cake Recipe for a complete meal plan that's sure to impress.
Until next time, happy baking!
With love from my kitchen to yours, Jassmine
recipe
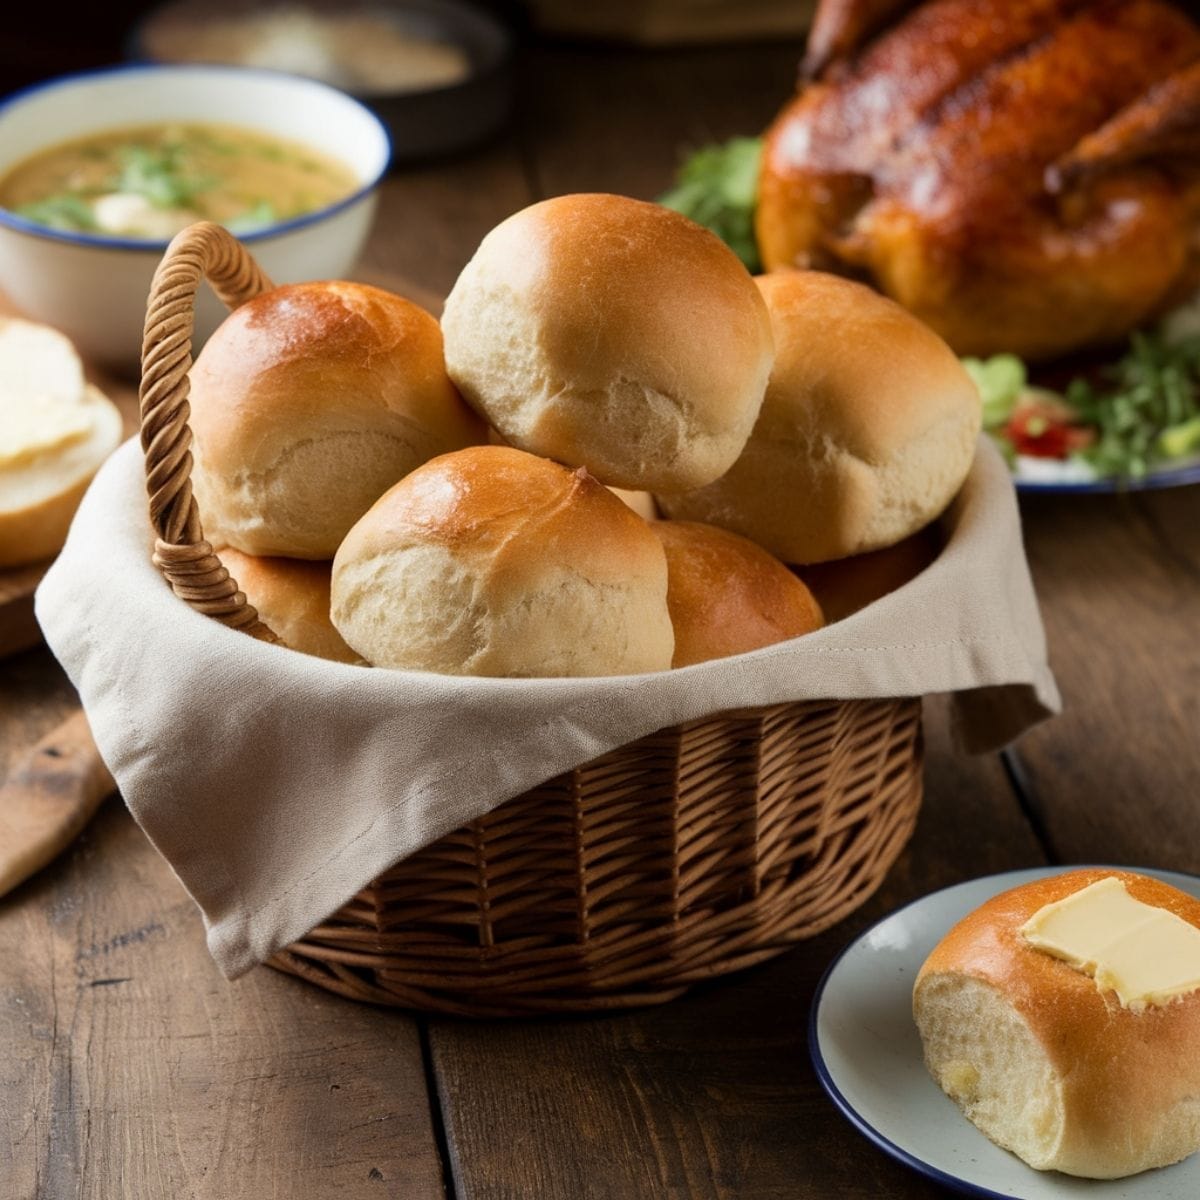
Soft Sourdough Discard Rolls
Equipment
- 1 Stand mixer with dough hook You can also knead by hand if you don't have a stand mixer
- 1 12-inch round or 9×13-inch baking pan Line with parchment paper if not using non-stick
- 1 Kitchen thermometer Helpful for checking water temperature and internal bread temperature
- 1 Pastry brush For applying egg wash
- 1 Kitchen scale For more accurate measurements
Ingredients
- 240 grams warm water (98-100°F) About 1 cup; temperature is important for proper yeast activation
- 15 grams instant yeast About 1½ tablespoons or 2 standard packets
- 20 grams granulated sugar About 2 tablespoons; feeds the yeast for faster rising
- 150 grams sourdough discard Scant ⅔ cup; 100% hydration starter works best
- 1 large egg About 50 grams; brings richness to the dough
- 30 grams unsalted butter, melted About 2½ tablespoons; enhances flavor and texture
- 12 grams salt About 2 teaspoons; essential for flavor and controlling yeast activity
- 540 grams bread flour About 4 cups; can substitute all-purpose flour if needed
- 1 egg For brushing on top before baking
- 1 splash water Mix with egg for easier brushing
Instructions
- Step 1:In the bowl of a stand mixer, combine warm water (98-100°F) and sourdough discard. Mix quickly to incorporate. This is especially important if your discard is cold from the refrigerator—the warm water helps bring everything to the right temperature for optimal yeast activation.
- Step 2:Add the sugar and instant yeast to the mixture. Wait 3-5 minutes for the yeast to activate—you'll notice a distinctive yeasty aroma and the yeast will begin to clump together or foam slightly on the surface.
- Step 3:Add the egg, melted butter, and salt to the mixture. Mix until well combined, about 30 seconds on low speed.
- Step 4:With the dough hook attachment running on low speed, gradually add the bread flour, reserving about a cup to add at the end. This prevents over-flouring the dough, which would make tough rolls. The perfect dough should feel tacky but not excessively sticky.
- Step 5:Knead the dough with the mixer on medium-low speed for 5-7 minutes until it forms a smooth, elastic ball. If mixing by hand, knead on a lightly floured surface for 7-8 minutes until smooth and elastic.
- Step 6:Turn the dough out onto a lightly floured countertop. Divide it into twelve equal pieces (about 85-90 grams each) using a bench scraper or knife.
- Step 7:Shape each piece into a ball by pulling and pinching the sides upward, then roll on the counter while cupping your hand to create tension and seal the bottom. This shaping technique creates that professional bakery look and ensures even rising.
- Step 8:Arrange the shaped rolls in a parchment-lined 12-inch round (or 9×13-inch rectangular) baking pan. Place them close enough that they'll touch after rising, which creates soft sides.
- Step 9:Cover the rolls with a clean kitchen towel and set in a warm place to rise for about 30 minutes. The rolls should nearly double in size and touch each other when properly risen. They'll feel light and fluffy to a gentle touch.
- Step 10:When the rolls have risen, preheat your oven to 375°F. (Important: If proofing your rolls in the oven with just the light on, remove them BEFORE preheating!)
- Step 11:While the oven preheats, prepare a simple egg wash by beating an egg with a splash of water. Gently brush this mixture over the tops of the rolls for that beautiful golden shine.
- Step 12:Bake for approximately 20 minutes until the rolls are golden brown and reach an internal temperature of 190°F if using a thermometer.
- Step 13:For an extra touch of indulgence, brush the tops with additional melted butter right after baking. Allow the rolls to cool for 5-10 minutes before serving warm.


Leave a Reply